Unlock Seamless Authentication: Enabling SSO on Salesforce in Simple Steps
July 13, 2023 Category : Salesforce User Guide
In today’s digital landscape, managing multiple login credentials can be cumbersome and time-consuming for both users and administrators. Single Sign-On (SSO) provides a solution by allowing users to access multiple applications, including Salesforce, with just one set of login credentials. Enabling SSO on Salesforce not only simplifies user authentication but also enhances security and user experience.
In this blog, we will guide you through the steps to enable SSO on Salesforce, streamlining the authentication process for your organization.
Here are the Steps to Enable Single Sign – on (SSO) on Salesforce
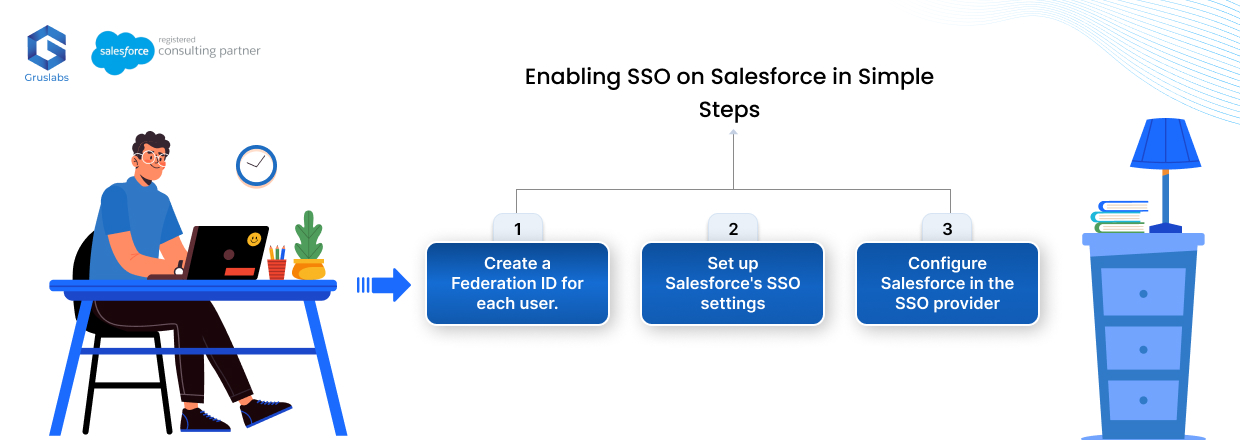
Intriguingly, it takes only three basic steps to set up SSO in our salesforce organization with a third-party identity provider.
Step 1. Create a Federation ID for each user.
Step 2. Set up Salesforce’s SSO settings.
Step 3. Configure Salesforce in the SSO provider.
Let’s explore the steps in detail!
Step 1. Create a Federation ID for each user.
1. Log in to your Salesforce account with administrator privileges.
2. Navigate to the setup menu by clicking on the gear icon in the upper-right corner.
![]()
3. In the setup menu, search for “User” in the Quick Find box.
4. Select Users. Click Edit next to the username you want to configure.
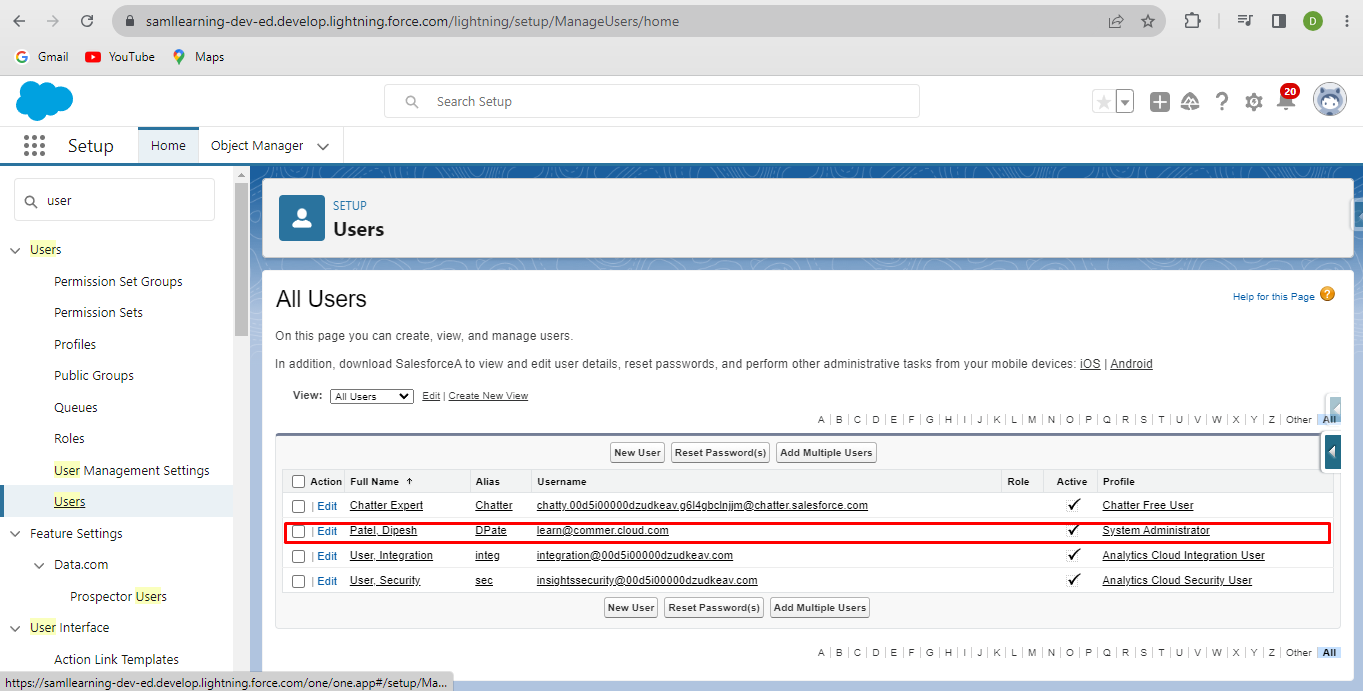
5. In Single Sign-on Information, enter the Federation ID. It must be unique for each user in the org.

6. Click Save.
Step 2. Setup Salesforce’s SSO settings.
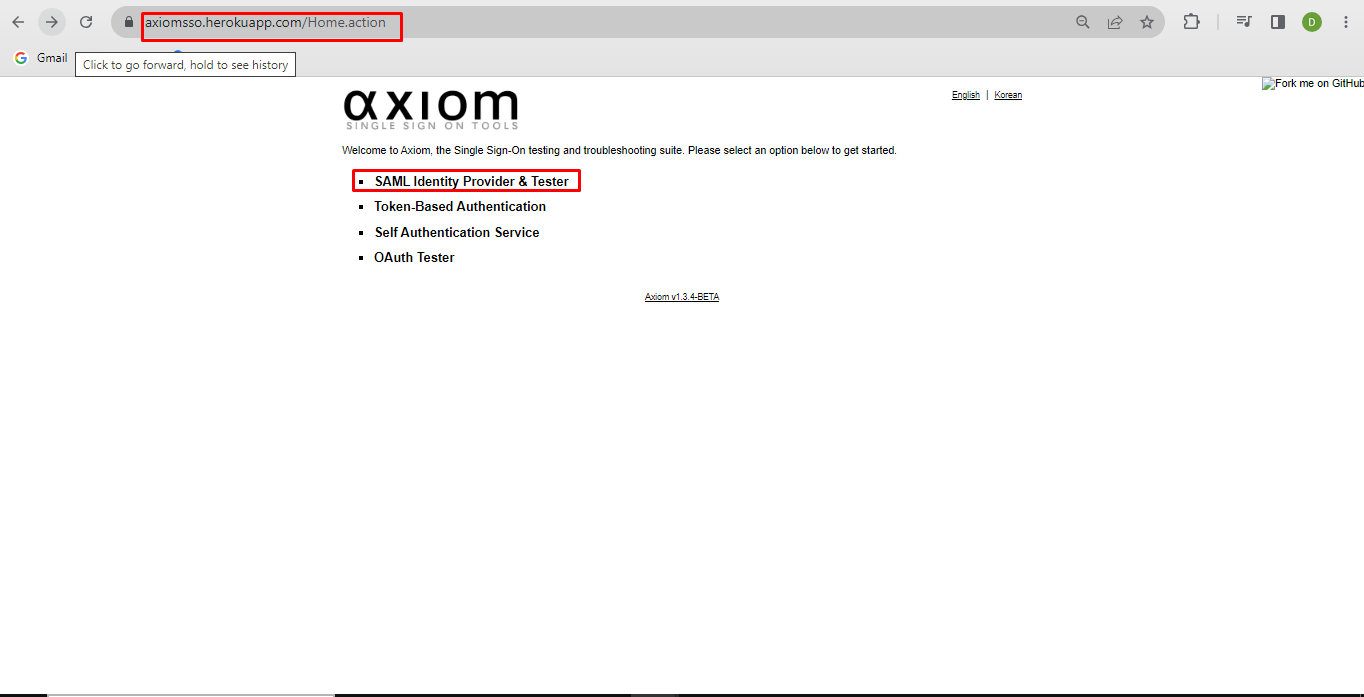
1. In a new browser window, go to https://axiomsso.herokuapp.com
2. Click SAML Identity Provider & Tester.
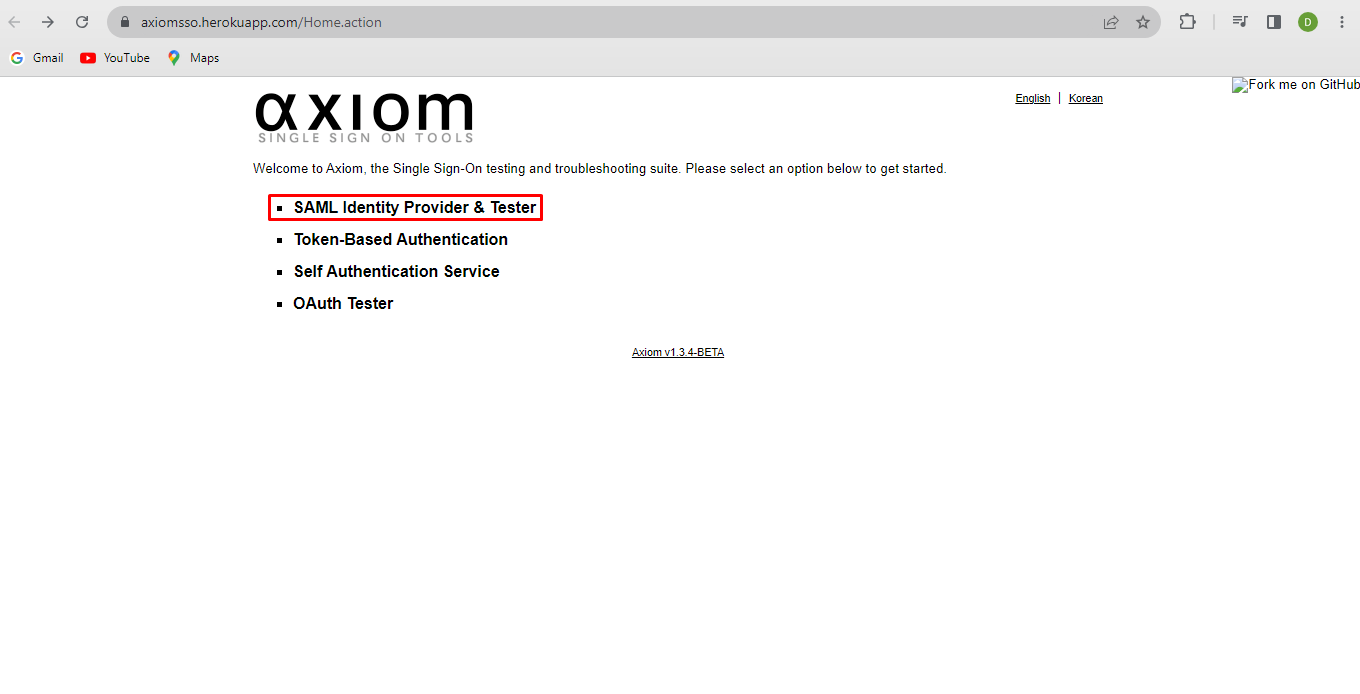
2. Download the Identity Provider Certificate and save it for the next step.

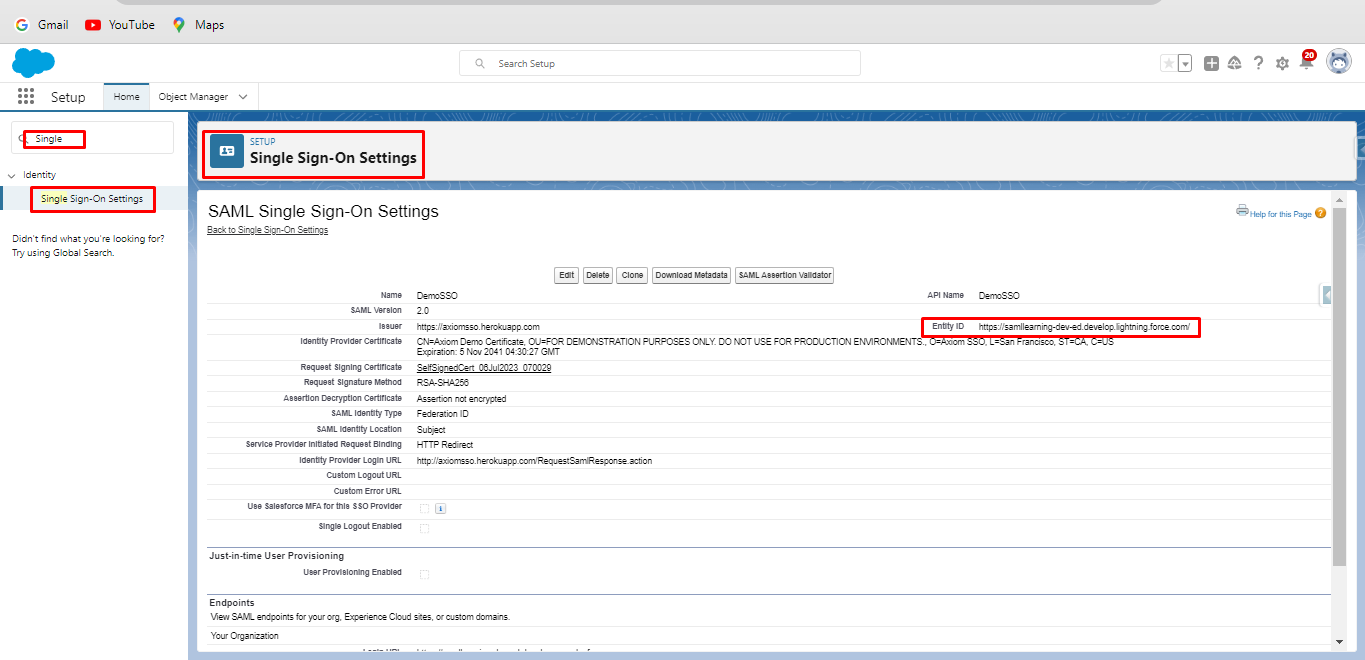
3. Go to your salesforce org. Click step up and in the Quick Find box, enter “Single”.

4. Click the Single sign-on setting.
5. Click on Edit.
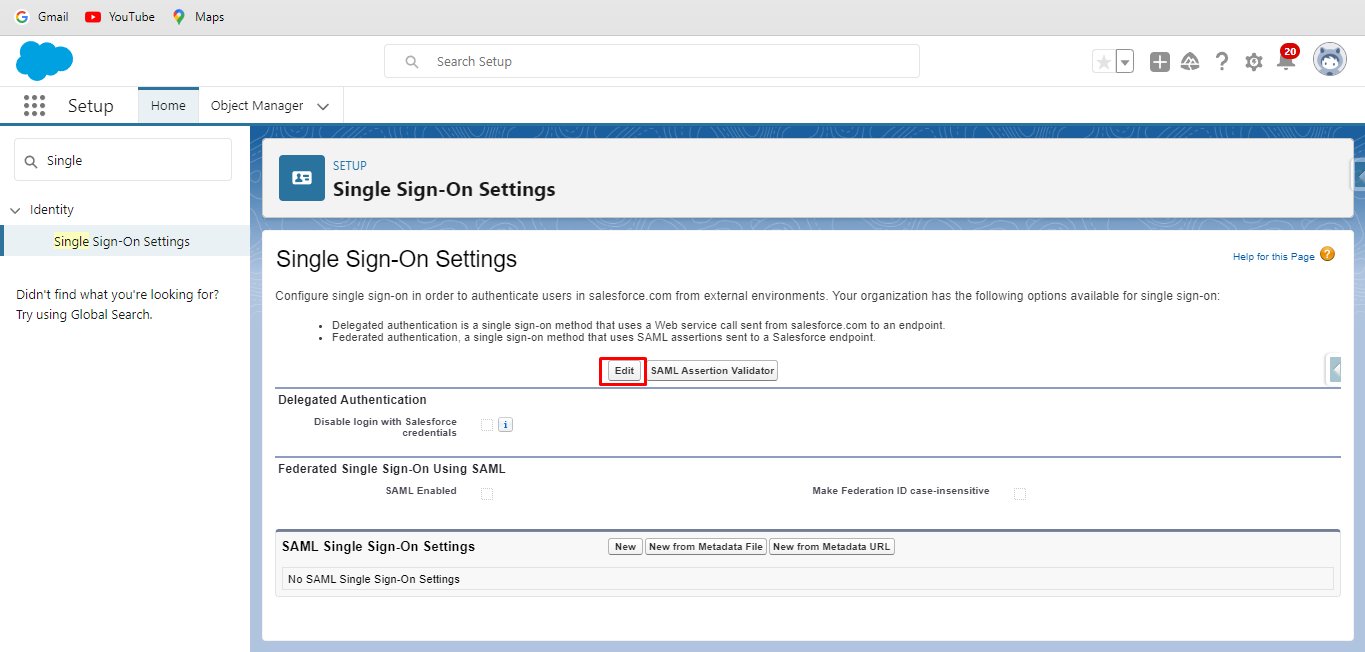
6. Select the checkbox SAML Enabled.

7. Click Save.
8. In SAML Single Sign-On Settings, click New.
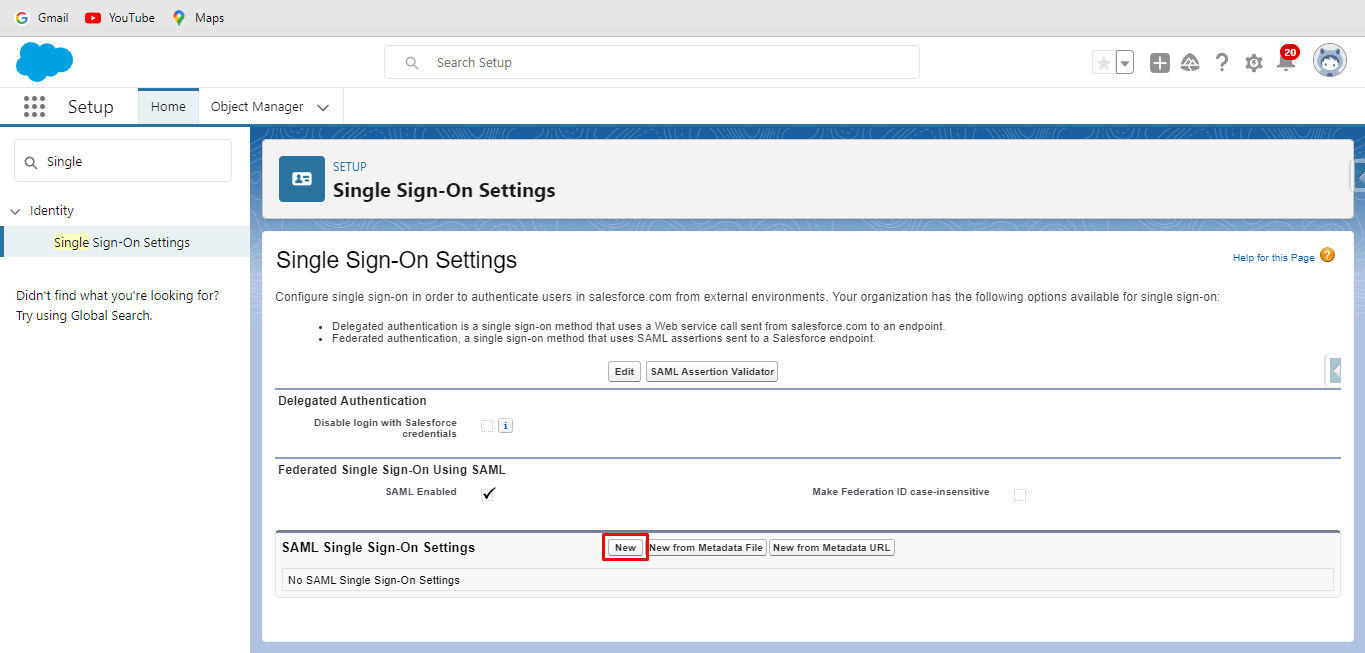
9. Enter any Name.
10. Enter issuer ashttps://axiomsso.herokuapp.com .
11. Upload the earlier downloaded Identity Provider Certificate.
12. Request Signature Method: Select RSA-SHA1.
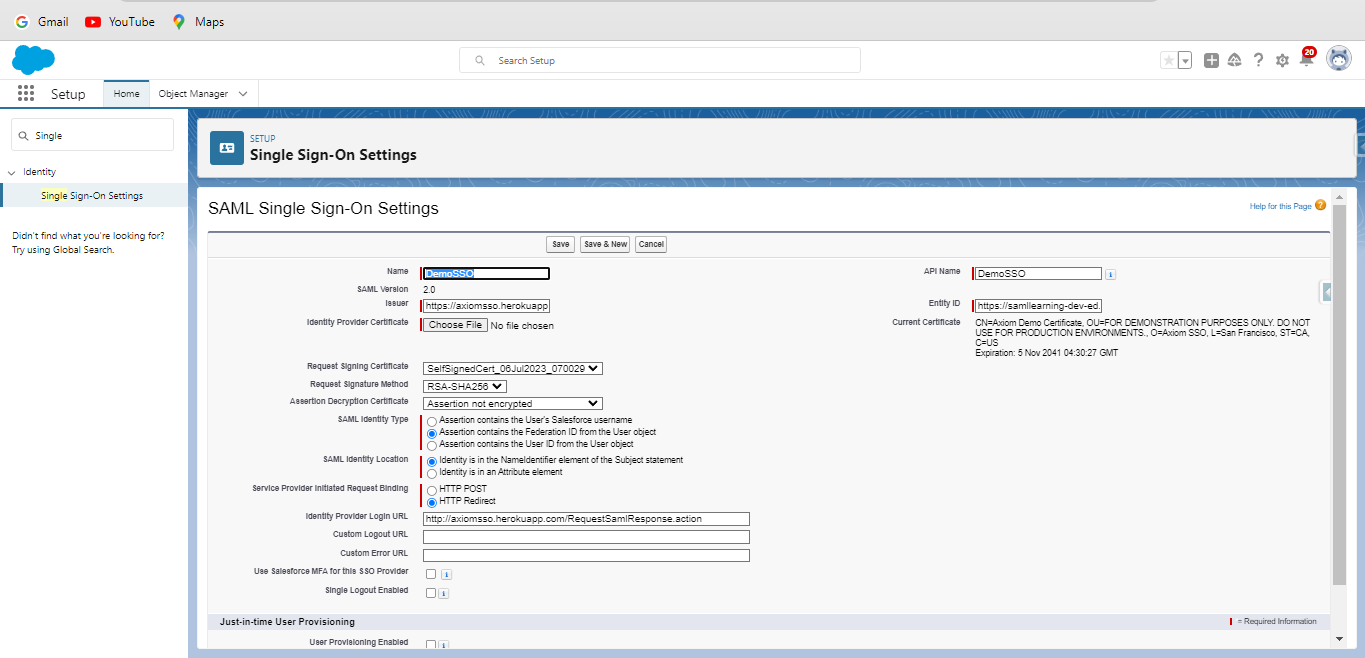
13. Click Save and leave the browser page open.
Step 3. Configure Salesforce in the SSO provider.
1. Go back to the Axiom web app. If you don’t have the app open in a browser window, go to https://axiomsso.herokuapp.com.
2. Click SAML Identity Provider & Tester.
3. Click generate a SAML response.

4. Select SAML Version to 2.0.
5. Enter the Federated ID from user, which we enter in first step.
6. Enter Issuer https://axiomsso.herokuapp.com .
7. Enter Recipient URL, the URL from the Salesforce SAML Single Sign-On Settings page, labeled Login URL.
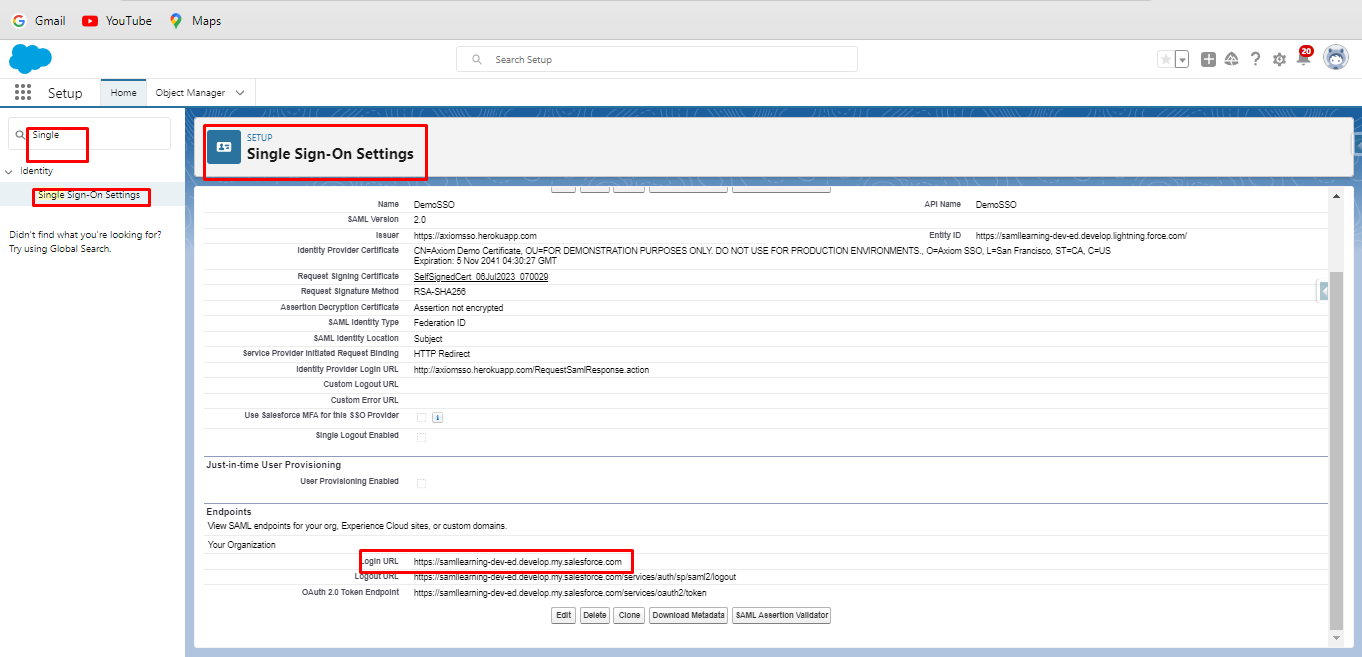
8. Enter Entity ID. The URL from the Salesforce SAML Single Sign-On Settings page is labelled Entity ID.
9. Fill in all the above information and the page will look like this:
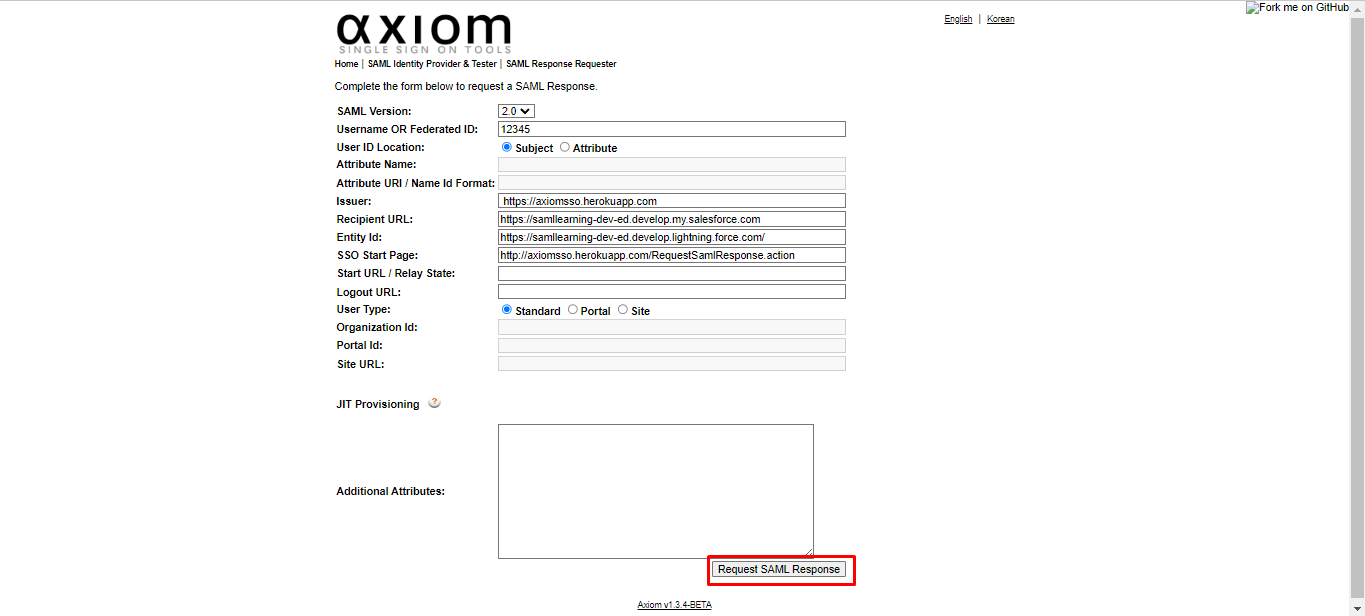
10. Click Request SAML Response.
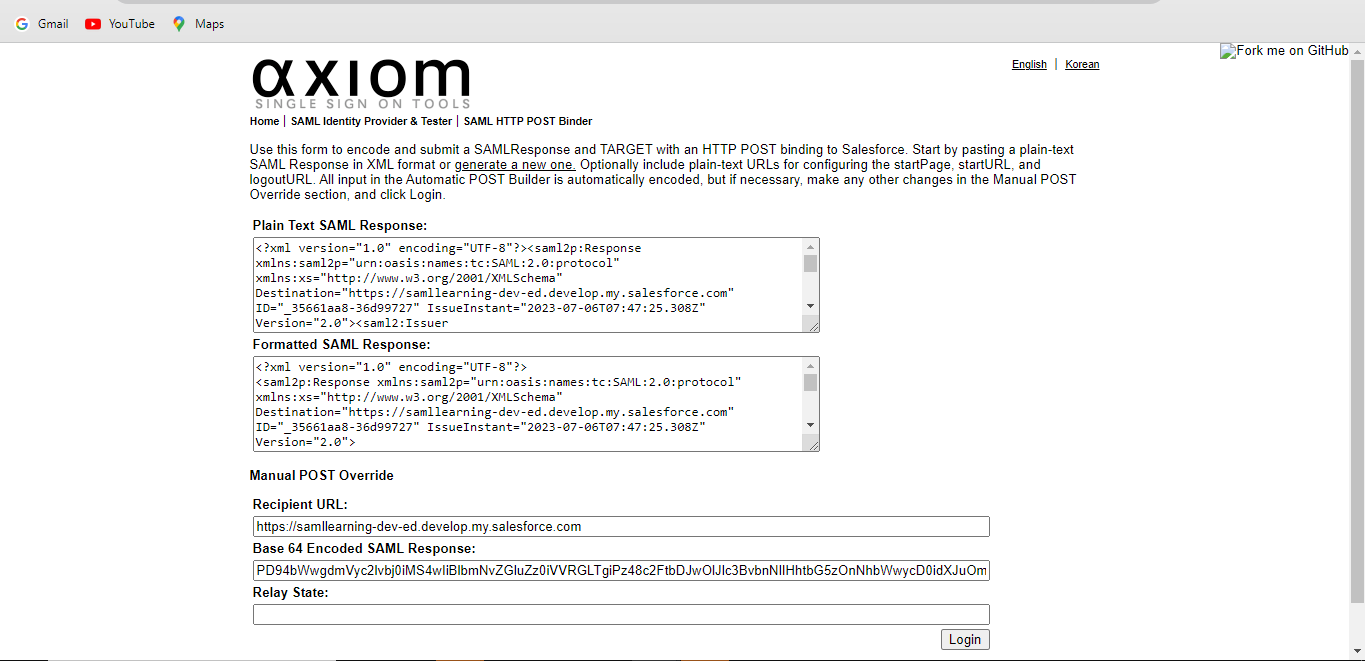
11. Click Login.
12. You log in to your org.
2020-, Gruslabs Software Solutions Pvt. Ltd. All rights reserved.